Insurance
Emergency Roof Repairs: What to Do When Your Roof Leaks in a Storm
Published · Written by Don Valley Roofing
When a roof starts leaking mid-storm, the instinct is to panic about the roof. The first priority should actually be the inside of the house: water damage spreads fast. The roof itself, however bad it looks, usually isn’t going anywhere in the next hour. Because of that, here’s the order that actually matters.
1. Contain the water inside
Move anything valuable away from the affected area and place a bucket or bowl under the drip. If a ceiling is visibly bulging with trapped water, it’s safer to pierce it deliberately than let it collapse on its own. Use something like a screwdriver, working over a bucket. In contrast, a controlled release causes far less damage than an uncontrolled one.
2. Cut power to any affected circuit
Water and electrics don’t mix. If the leak is anywhere near light fittings, sockets or a consumer unit, switch off the relevant circuit at the fuse board. If you’re not sure which one, switch off the whole supply instead. Still, do this before anything else in that room.
3. Don’t go on the roof yourself
This is the step most people get wrong, understandably wanting to “just take a look.” A roof in a storm is wet, and often still exposed to high winds. The exact spot that’s failed is the last place to stand without the right equipment. Making a roof safe in bad weather is a job for someone trained and equipped for work at height. Still, leave it to us.
4. Note what you can see from inside and from the ground
From a safe vantage point — a window, the garden, the street — note where the damage looks to be. Is it near the chimney, over a particular room, or along a valley? As a result, this helps us go straight to the right area rather than surveying the whole roof from scratch. It’s also useful if you later need to make an insurance claim.
5. Call for an emergency repair
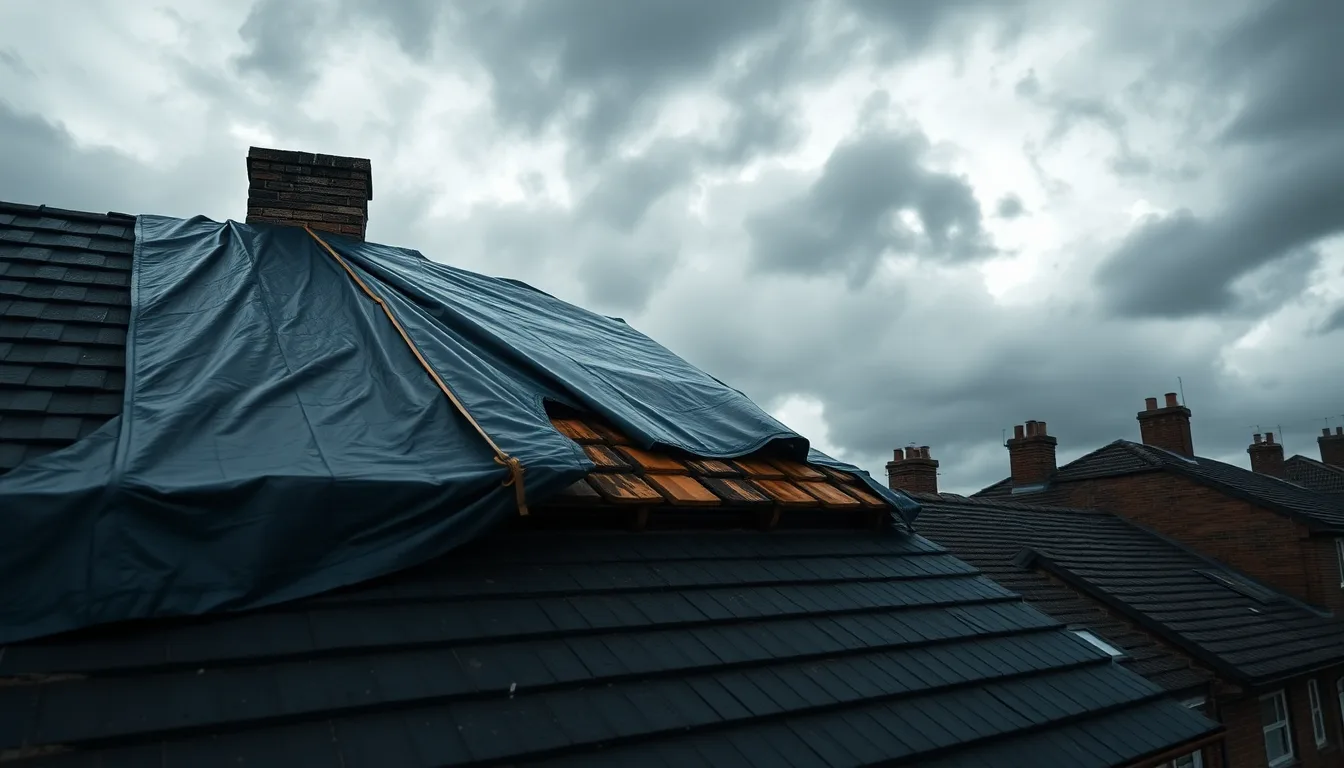
Our emergency roof repairs service treats active leaks and storm damage as genuinely urgent. We prioritise this ahead of routine work across Doncaster, Armthorpe and Barnsley alike. Specifically, we follow the same three-step process every time. First, we assess the damage safely. Then we make the roof watertight, usually with temporary sheeting if a permanent fix isn’t possible yet. Finally, we schedule the permanent fix once it’s safe to do properly.
6. Photograph everything before repairs start
If you’re likely to claim, photograph the roof damage from ground level — don’t go up for this either. Also photograph any internal water damage before repairs begin. See our guide on whether storm damage is covered for what insurers actually look for. Additionally, ask us for a written damage report too, to support your claim.
What we do on an emergency call-out
- Assess — a safe, fast inspection to identify the source and extent of the damage.
- Make safe — temporary sheeting or repairs to stop further water ingress immediately.
- Permanent fix — scheduled as soon as conditions allow, using properly matched materials.
- Report — a written summary of the damage and repair, useful for insurance purposes and for your own records.
Further reading
Ridge tiles are a common failure point in high winds, so if that’s what’s slipped, our guide to ridge tile repairs and re-bedding explains what the fix involves. It’s also worth understanding why South Yorkshire gets hit as hard as it does — our guide to local weather and your roof covers the patterns behind it. Meanwhile, once the immediate repair is sorted, our guide to the storm damage insurance claim process walks through what happens next if you’re claiming.
If your roof is leaking right now, don’t wait for it to “calm down.” Get in touch, and we’ll respond as a priority.
Related pages
Got a roofing job in mind?
Send us a few details and we'll give you an honest, no-obligation quote.
Get a Free Quote